Step 6: Shared State
In LangGraph, your agents are stateful. This means that they as your graph traverses nodes, the overall application state will be updated and persisted.
CopilotKit allows you to easily read and update this state through the use of two main hooks:
useCoAgent- Provides a way to read and write Agent state anywhere in your application.useCoAgentStateRender- Provides a way to render Agent state in the chat.
With this in mind, our current goal is to create a bidirectional connection between the application's state and the LangGraph agent's state. This will allow us to render the agent's completed research in the right panel.
For this, we'll be using the useCoAgent hook.
The useCoAgentStateRender will be used in the next step to render the agent's progress in the chat.
Understanding our agent's state
The state of our agent can be found in agent/state.py.
# ...
from typing import Dict, Union, List
from langgraph.graph import MessagesState

class ResearchState(MessagesState):
    title: str
    proposal: Dict[str, Union[str, bool, Dict[str, Union[str, bool]]]]  # Stores proposed structure before user approval
    outline: dict
    sections: List[dict]  # list of dicts with 'title','content',and 'idx'
    footnotes: str
    sources: Dict[str, Dict[str, Union[str, float]]]
    tool: str
    logs: List[dict]  # list of dicts logs to be sent to frontend with 'message', 'status'
There are a few things to note here, but let's focus on the proposal field and sections field.
- The
proposalfield is a dictionary that stores the proposed research structure before the user approves it. - The
sectionsfield is a list of dictionaries, each containing atitle,content, andidx. This is the actual research that will be displayed in the right panel.
We've already wired up the approval of the proposal field in the previous step, so now we need to wire up rendering for the sections field.
The useCoAgent hook
Our current goal is to create a bidirectional connection between these two states. Luckily, the useCoAgent hook makes this easy.
In the useResearch hook, we'll just replace our React state objects with the useCoAgent hook.
// ...
import { useCoAgent } from "@copilotkit/react-core";
// ...

interface ResearchContextType {
    state: ResearchState;
    setResearchState: (newState: ResearchState | ((prevState: ResearchState) => ResearchState)) => void
    sourcesModalOpen: boolean
    setSourcesModalOpen: (open: boolean) => void
    runAgent: () => void
}

const ResearchContext = createContext<ResearchContextType | undefined>(undefined)

export function ResearchProvider({ children }: { children: ReactNode }) {
    const [sourcesModalOpen, setSourcesModalOpen] = useState<boolean>(false)
    const { state, setState, run } = useCoAgent<ResearchState>({
        name: 'agent',
        initialState: {},
    });
    const [state, setState] = useState<ResearchState>({} as ResearchState)

    // ...

    return (
        <ResearchContext.Provider
            value={{
              state,
              setResearchState: setState as ResearchContextType['setResearchState'],
              setSourcesModalOpen,
              sourcesModalOpen,
              runAgent: run
              runAgent: () => {}
            }}>
            {children}
        </ResearchContext.Provider>
    )
}

export function useResearch() {
    const context = useContext(ResearchContext)
    if (context === undefined) {
        throw new Error('useResearch must be used within a ResearchProvider')
    }
    return context
}
The useCoAgent hook is generic. What this means is that we can specify a type for that represents the state of the LangGraph agent.
If you are going to specify a type, you should be very careful that the type has the same shape as the state of your LangGraph agent.
It is not recommended, but you can ditch the type parameter and instead get an any type.
In this example, we use the useCoAgent hook to wire up the application's state to the LangGraph agent's state.
- For the generic type, we pass the
AgentStatetype that was already defined for the application in@/lib/types.ts. - For the
nameparameter, we pass the name of the graph as defined inagent/langgraph.json. - For the
initialStateparameter, we pass the initial state of the LangGraph agent which is already defined in@/lib/trips.ts.
Recap
Now we can see the final result of the research in the right panel! To recap, we did the following:
- Learned about the agent's state.
- Added the
useCoAgenthook to our application to render thesectionsfield.
Now, try running the agent again and going through the same steps. At the end, you'll see the completed research in the right panel.
Please research dogs!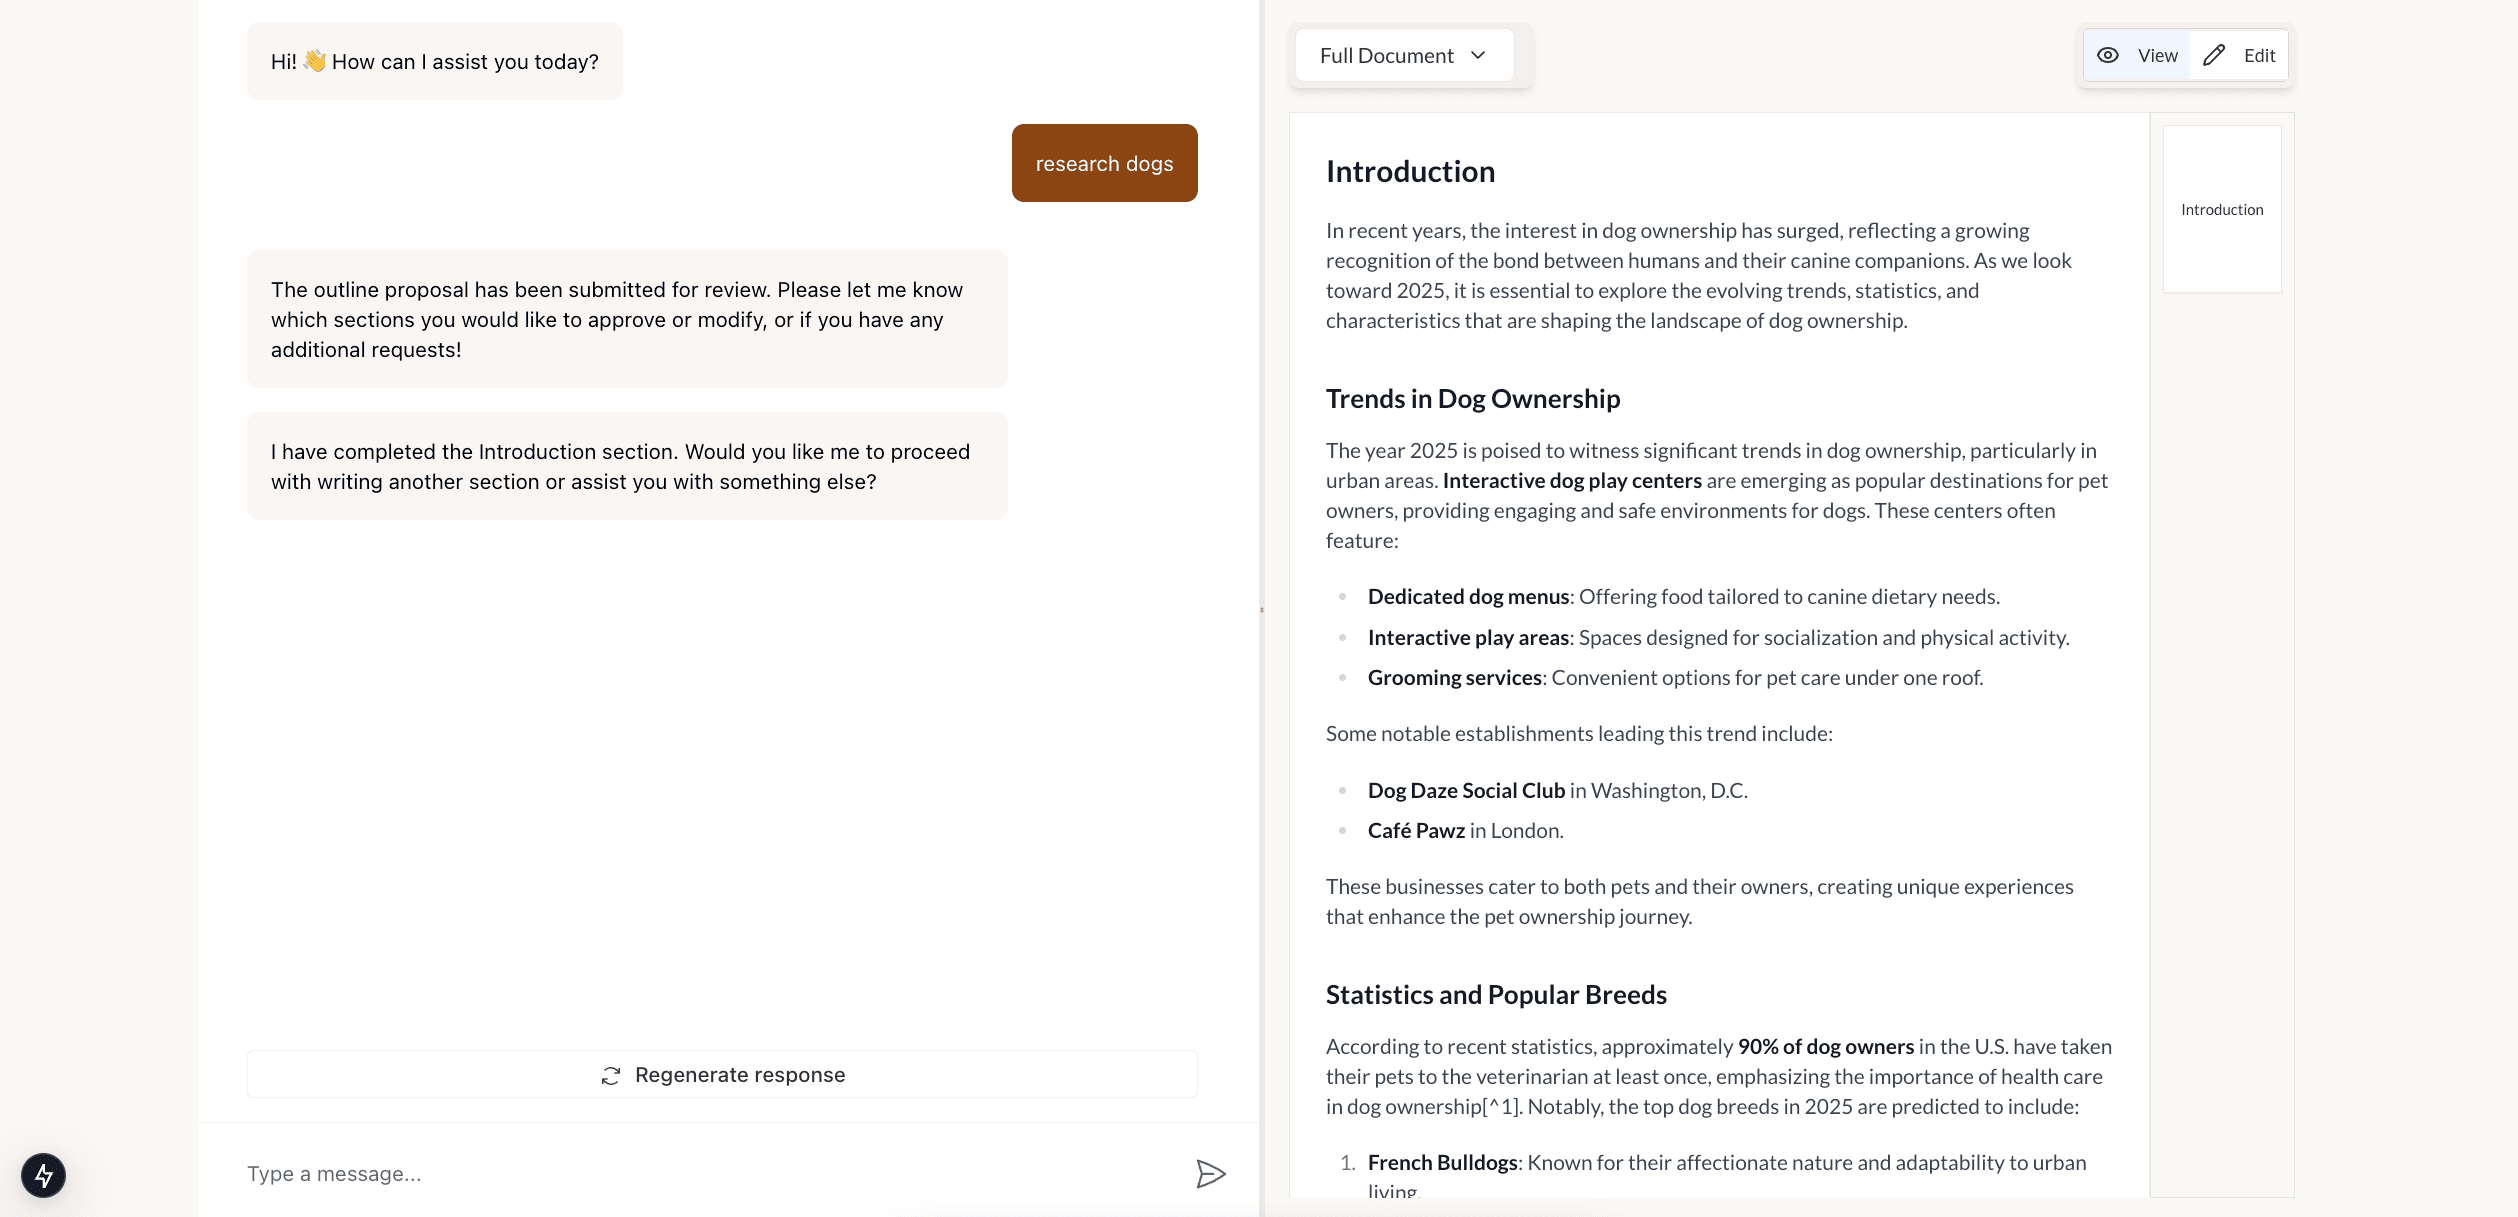
Now, we can completely run our agent from start to finish and see the finalized research in the right window.
However, you may notice that the research takes a long time to complete without any indication of progress. In the next step, we'll leverage the CoAgent concepts of generative ui to communicate the agent's progress in the chat.
