Step 7: Agentic Generative UI
We're almost done! In this step, we're going to add generative UI to the application so that we can visualize the agent state in the chat UI. The end goal with this is to allow the user to see the progress of the agent's research as it is completed.
We call UI that is rendered from the state of the agent or its tool calls "Generative UI".
For this guide, we're going to start using the CopilotKit SDK to emit the state of the agent manually. This is because in LangGraph, state is only updated when a node change occurs (i.e, an edge is traversed).
As such, in-progress work is not emitted to the user by default. However, we can manually emit the state using the copilotkit_emit_state
function. With that emitted state, we'll be using the useCoAgentStateRender hook to render updates in the chat to give the user
a sense of progress.
CopilotKit Python SDK
This tutorial already comes with the CopilotKit Python SDK installed. This allows us to utilize various CopilotKit specific features, such as emitting state.
Manually emit state
The research ANA emits state in a variety of places. For the sake of simplicity, we'll be adding the copilotkit_emit_state function
to the agent/graph.py file so you can understand how it works. However, state is also emitted in the following files if you'd like to
look at them:
agent/tools/outline_writer.pyagent/tools/section_writer.pyagent/tools/tavily_extract.pyagent/tools/tavily_search.py
Each of these files will write their progress to the logs field of the agent's state. Directly after that, we call copilotkit_emit_state to emit the state to the frontend.
For example, in the tool_node we update some state based on the tool result and then use copilotkit_emit_state to emit the state to the frontend.
# ...
from copilotkit.langchain import copilotkit_emit_state
#...

async def tool_node(self, state: ResearchState, config: RunnableConfig) -> Command[Literal["process_feedback_node", "call_model_node"]]:
        # ...
        for tool_call in state["messages"][-1].tool_calls:
            # ...

            tool_state = {
                "title": new_state.get("title", ""),
                "outline": new_state.get("outline", {}),
                "sections": new_state.get("sections", []),
                "sources": new_state.get("sources", {}),
                "proposal": new_state.get("proposal", {}),
                "logs": new_state.get("logs", []),
                "tool": new_state.get("tool", {}),
                "messages": msgs
            }
            await copilotkit_emit_state(config, tool_state)

        return tool_state
As this loop is iterated through, the intermediate state that the tools write will be emitted to the frontend. Basically, any time that
you want to emit state to the frontend, you can do so by calling copilotkit_emit_state.
Render the emitted state
Now, our state is being emitted to the frontend. However, we need to render it in the chat. To do this, we'll be using the useCoAgentStateRender hook.
import { useCoAgentStateRender, useLangGraphInterrupt } from "@copilotkit/react-core";

export default function HomePage() {
    //...
    const { state: researchState, setResearchState } = useResearch()
    // ...

    useCoAgentStateRender<ResearchState>({
        name: 'agent',
        render: ({ state }) => {
            if (state.logs?.length > 0) {
                return <Progress logs={state.logs} />;
            }
            return null;
        },
    }, [researchState]);

    // ...
}
Recap
Try running the agent again and going through the same steps. You'll now notice that the state is streaming intermediately and the user can see the progress of the agent's research.
Please research dogs!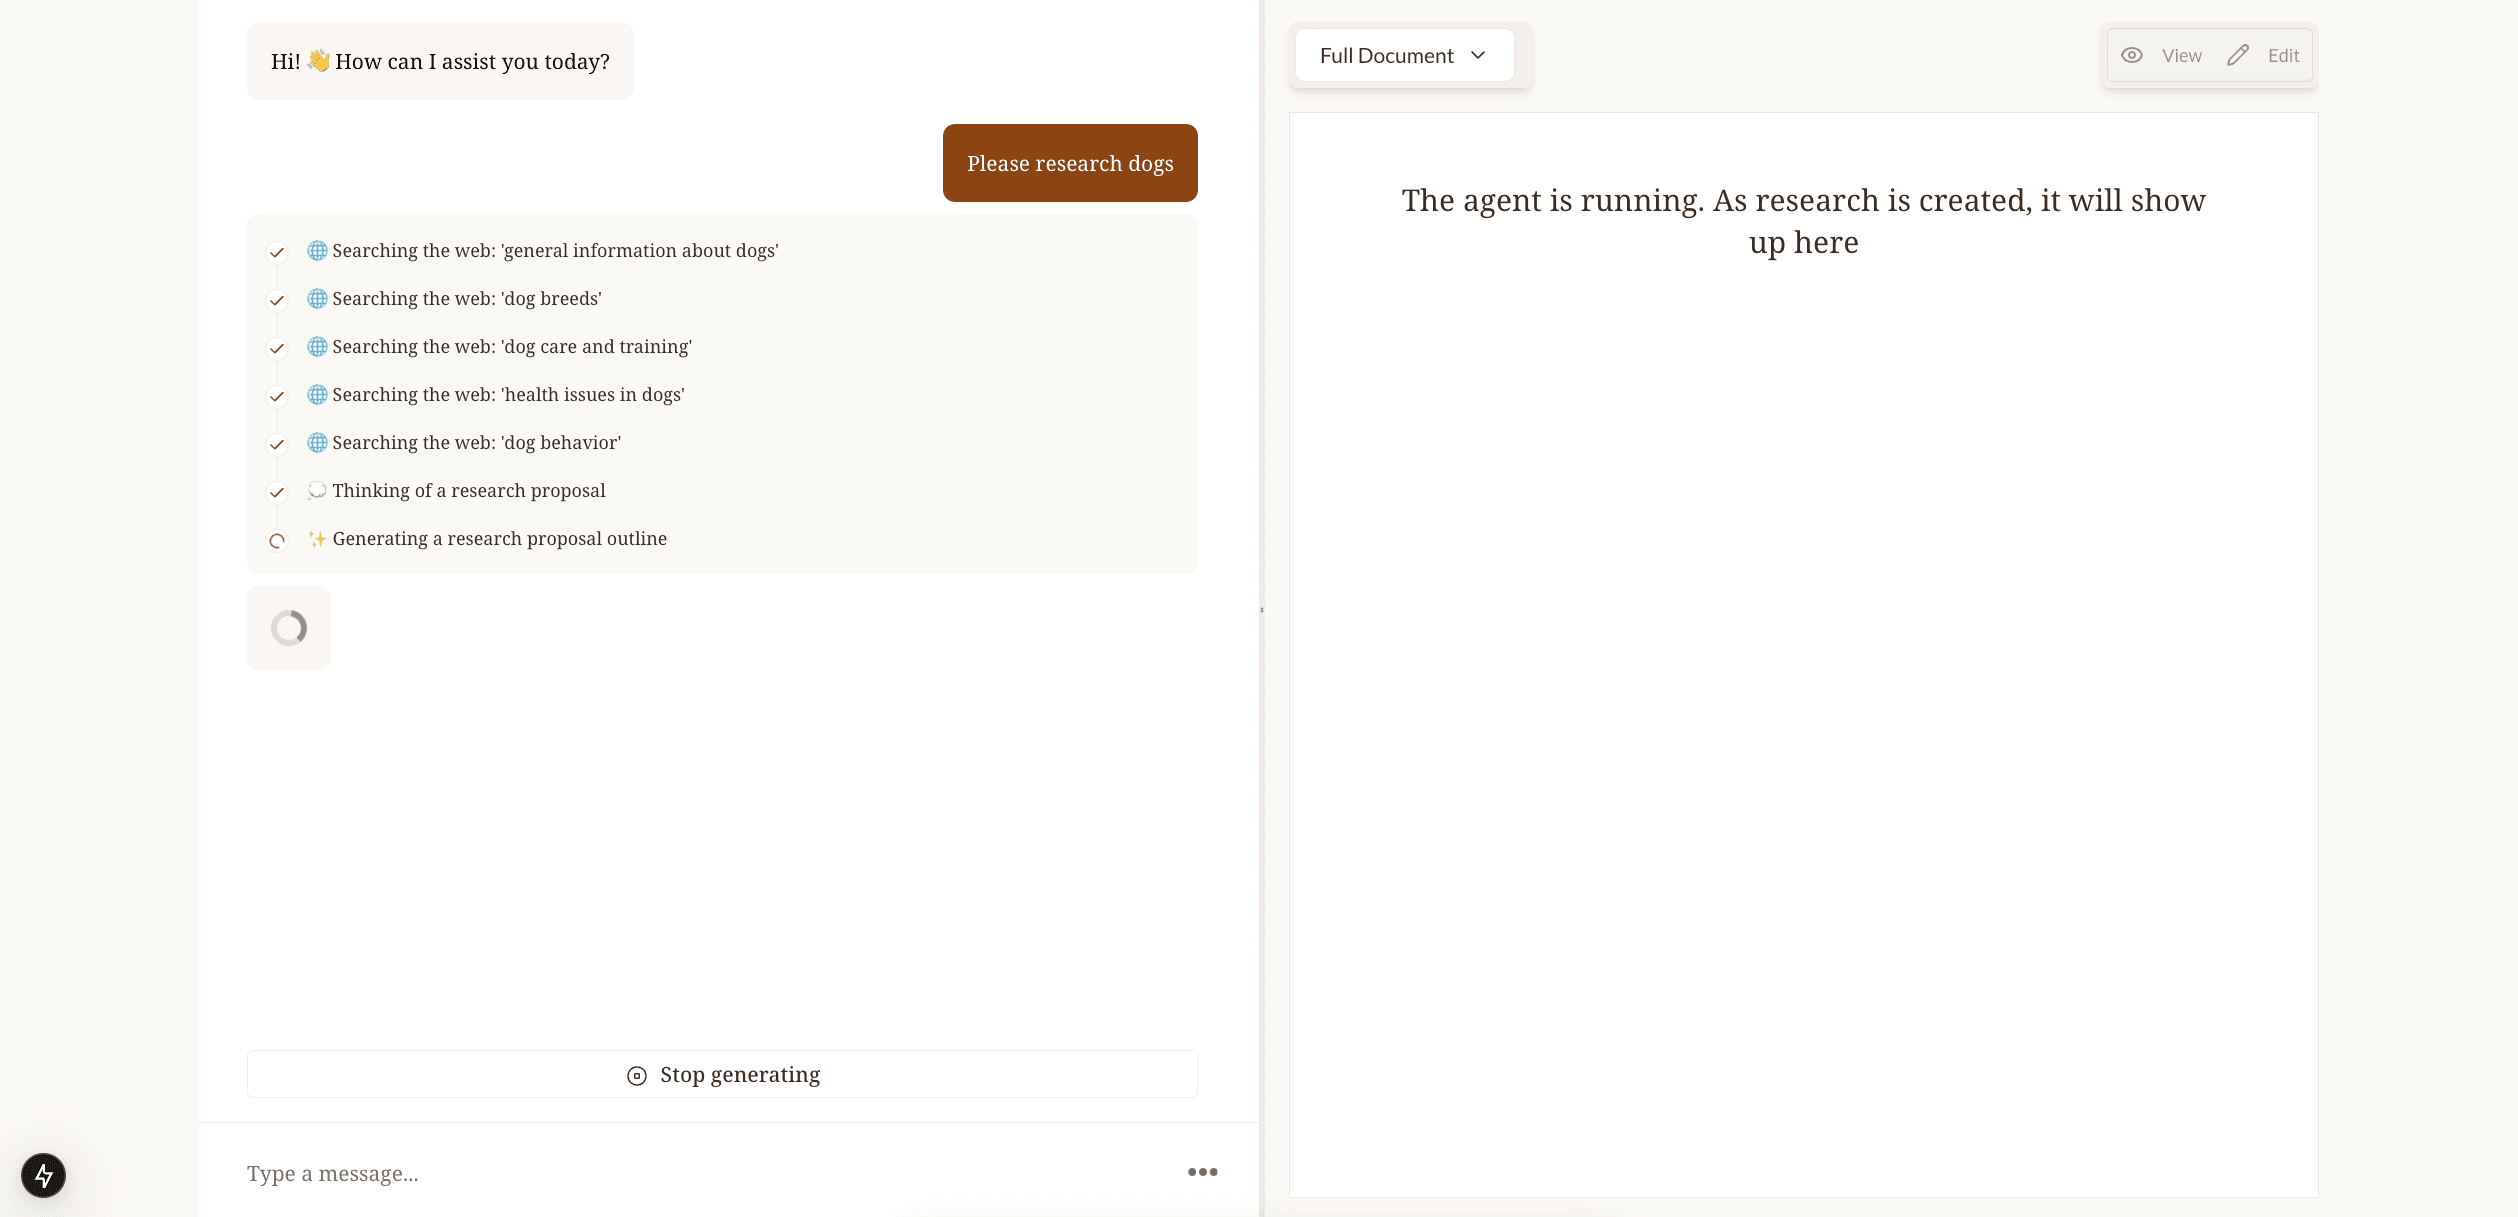
To recap, we did the following:
- Learned about how to emit state whenever we want with
copilotkit_emit_state. - Added the
useCoAgentStateRenderhook to our application to render the intermediate state in the chat.
We're almost done, just one step to go! Now we're going to learn about progressive state updates which will allow us to render the sections as they are written into state. This will complete the agentic experience.
