Step 4: Agentic Chat UI
At this point, we have a LangGraph agent running in LangGraph Studio and have a simple copilot. Now, let's combine the two together to make an copilot agent (CoAgent)!
Connect the agent to CopilotKit
We need to make CopilotKit aware of our running LangGraph agent. To do this, we will setup a remote endpoint to connect to our locally running agent.
Since we're using Copilot Cloud, this is as simple as running the following command for local development.
npx copilotkit@latest dev --port 8000✔ Select a project Local (ID: <project_id>)
✅ LangGraph Platform endpoint detected
⠹ Creating tunnel...
Tunnel Information:
• Tunnel URL: https://<tunnel_id>.tunnels.devcopilotkit.com
• Endpoint Type: LangGraph Platform
• Project: projects/<project_id>
Press Ctrl+C to stop the tunnel
✔ 🚀 Local tunnel is live and linked to Copilot Cloud!This allows Copilot Cloud to know where to send requests to when the agent is called.
Specify the agent to use
Now we need to let the CopilotKit provider know which agent to use, we can do this by specifying the agent prop.
Our agent name is agent which is specified in the langgraph.json file.
// ...
<CopilotKit
  // ...
  agent="agent"
>
  {...}
</CopilotKit>
Recap
And we're done! Here's what we did:
- We connected the agent to CopilotKit.
- We specified the agent to use.
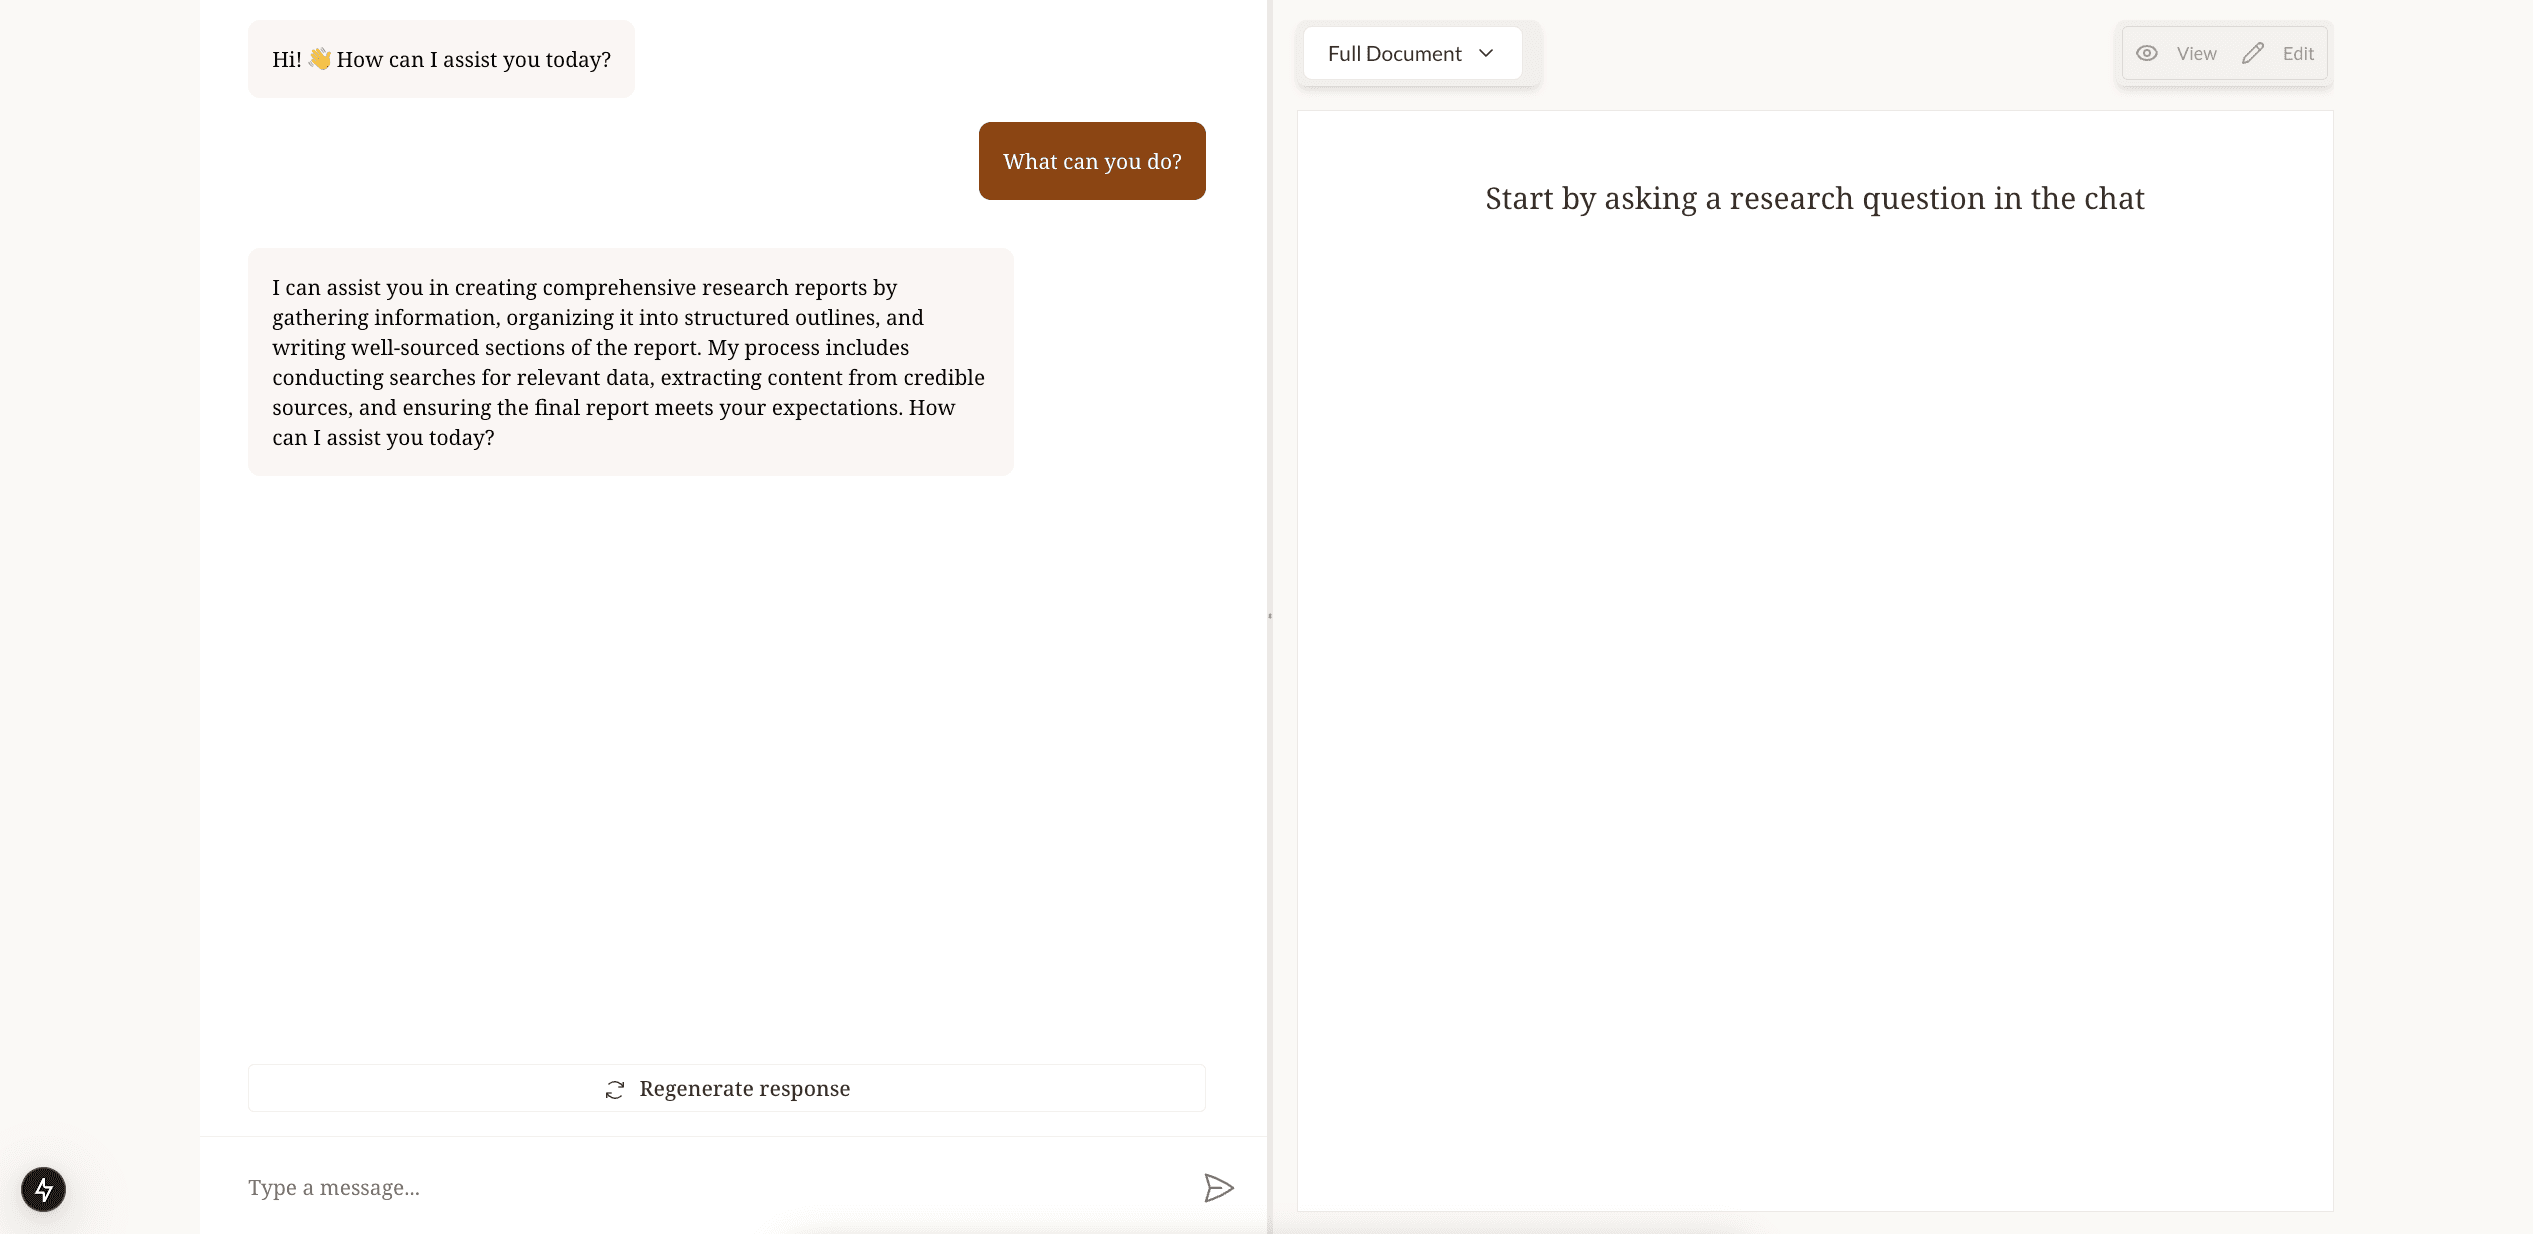
Now when you head back to the app, you'll notice that we're talking to our LangGraph agent!
Next, let's process and sync the state between our application and the agent.
