Step 3: Setup CopilotKit
Now that we have both our application and agent running, let's connect them using CopilotKit. The necessary dependencies are already installed in the frontend directory:
@copilotkit/react-core: Core CopilotKit functionality and hooks@copilotkit/react-ui: Pre-built UI components for chat interfaces
Set up Copilot Cloud
Create a Copilot Cloud account to get started. This provides a production-ready proxy to your LLMs.
Copilot Cloud includes free LLM credits for development.
Get a Copilot Cloud API Key
Once logged in, you'll see some on boarding steps. The main thing we'll need is a public API key. To do this, you'll need to create an OpenAI API key and provide it to Copilot Cloud.

Configure environment variables
Create and populate the frontend environment file:
touch frontend/.envThen, add your Copilot Cloud API key to the file like so:
NEXT_PUBLIC_CPK_PUBLIC_API_KEY=...Add the CopilotKit provider
Wrap your application with the CopilotKit provider:
"use client";

// ...
import { CopilotKit } from "@copilotkit/react-core";
import "@copilotkit/react-ui/styles.css";
// ...

export default function RootLayout({ children }: Readonly<{ children: React.ReactNode }>) {
    return (
      <html lang="en" className="h-full">
        <body className={`${lato.variable} ${noto.className} antialiased h-full`}>
          <CopilotKit
            publicApiKey={process.env.NEXT_PUBLIC_CPK_PUBLIC_API_KEY}
          >
            <TooltipProvider>
              <ResearchProvider>
                {children}
              </ResearchProvider>
            </TooltipProvider>
          </CopilotKit> // [!code ++]
        </body>
      </html>
    );
}
Adding a chat interface
We provide several customizeable components for you to interact with your copilot. Some of these are <CopilotPopup/>, <CopilotSidebar/>, and <CopilotChat/>, and your own fully custom UI via useCopilotChat.
In this tutorial, we'll use the <CopilotChat/> component as we want to aim for a non-modal chat interface.
The Chat component will serve as a wrapper around the CopilotKit CopilotChat component. This is to help simplify
what you'll need to write along the way.
"use client"

import { CopilotChat } from "@copilotkit/react-ui";
import { INITIAL_MESSAGE, MAIN_CHAT_INSTRUCTIONS, MAIN_CHAT_TITLE } from "@/lib/consts";

export default function Chat({ onSubmitMessage }: { onSubmitMessage: () => void }) {
  return (
      <CopilotChat
          instructions={MAIN_CHAT_INSTRUCTIONS}
          labels={{
              title: MAIN_CHAT_TITLE,
              initial: INITIAL_MESSAGE,
          }}
          className="h-full w-full font-noto"
          onSubmitMessage={onSubmitMessage}
      />
      <h1 className="text-2xl font-bold flex items-center justify-center h-full mx-auto mr-20">
        It'd be really cool if we had chat here!
      </h1>
  )
}
Recap
And we're done! Here's what we did:
- We setup our Copilot cloud account and got an API key.
- We configured the CopilotKit provider in our application to use our API key.
- We added the CopilotSidebar to our application.
Now, head back to the app and you'll find a chat interface on the left side of the page. At this point, you can start interacting with your copilot! 🎉
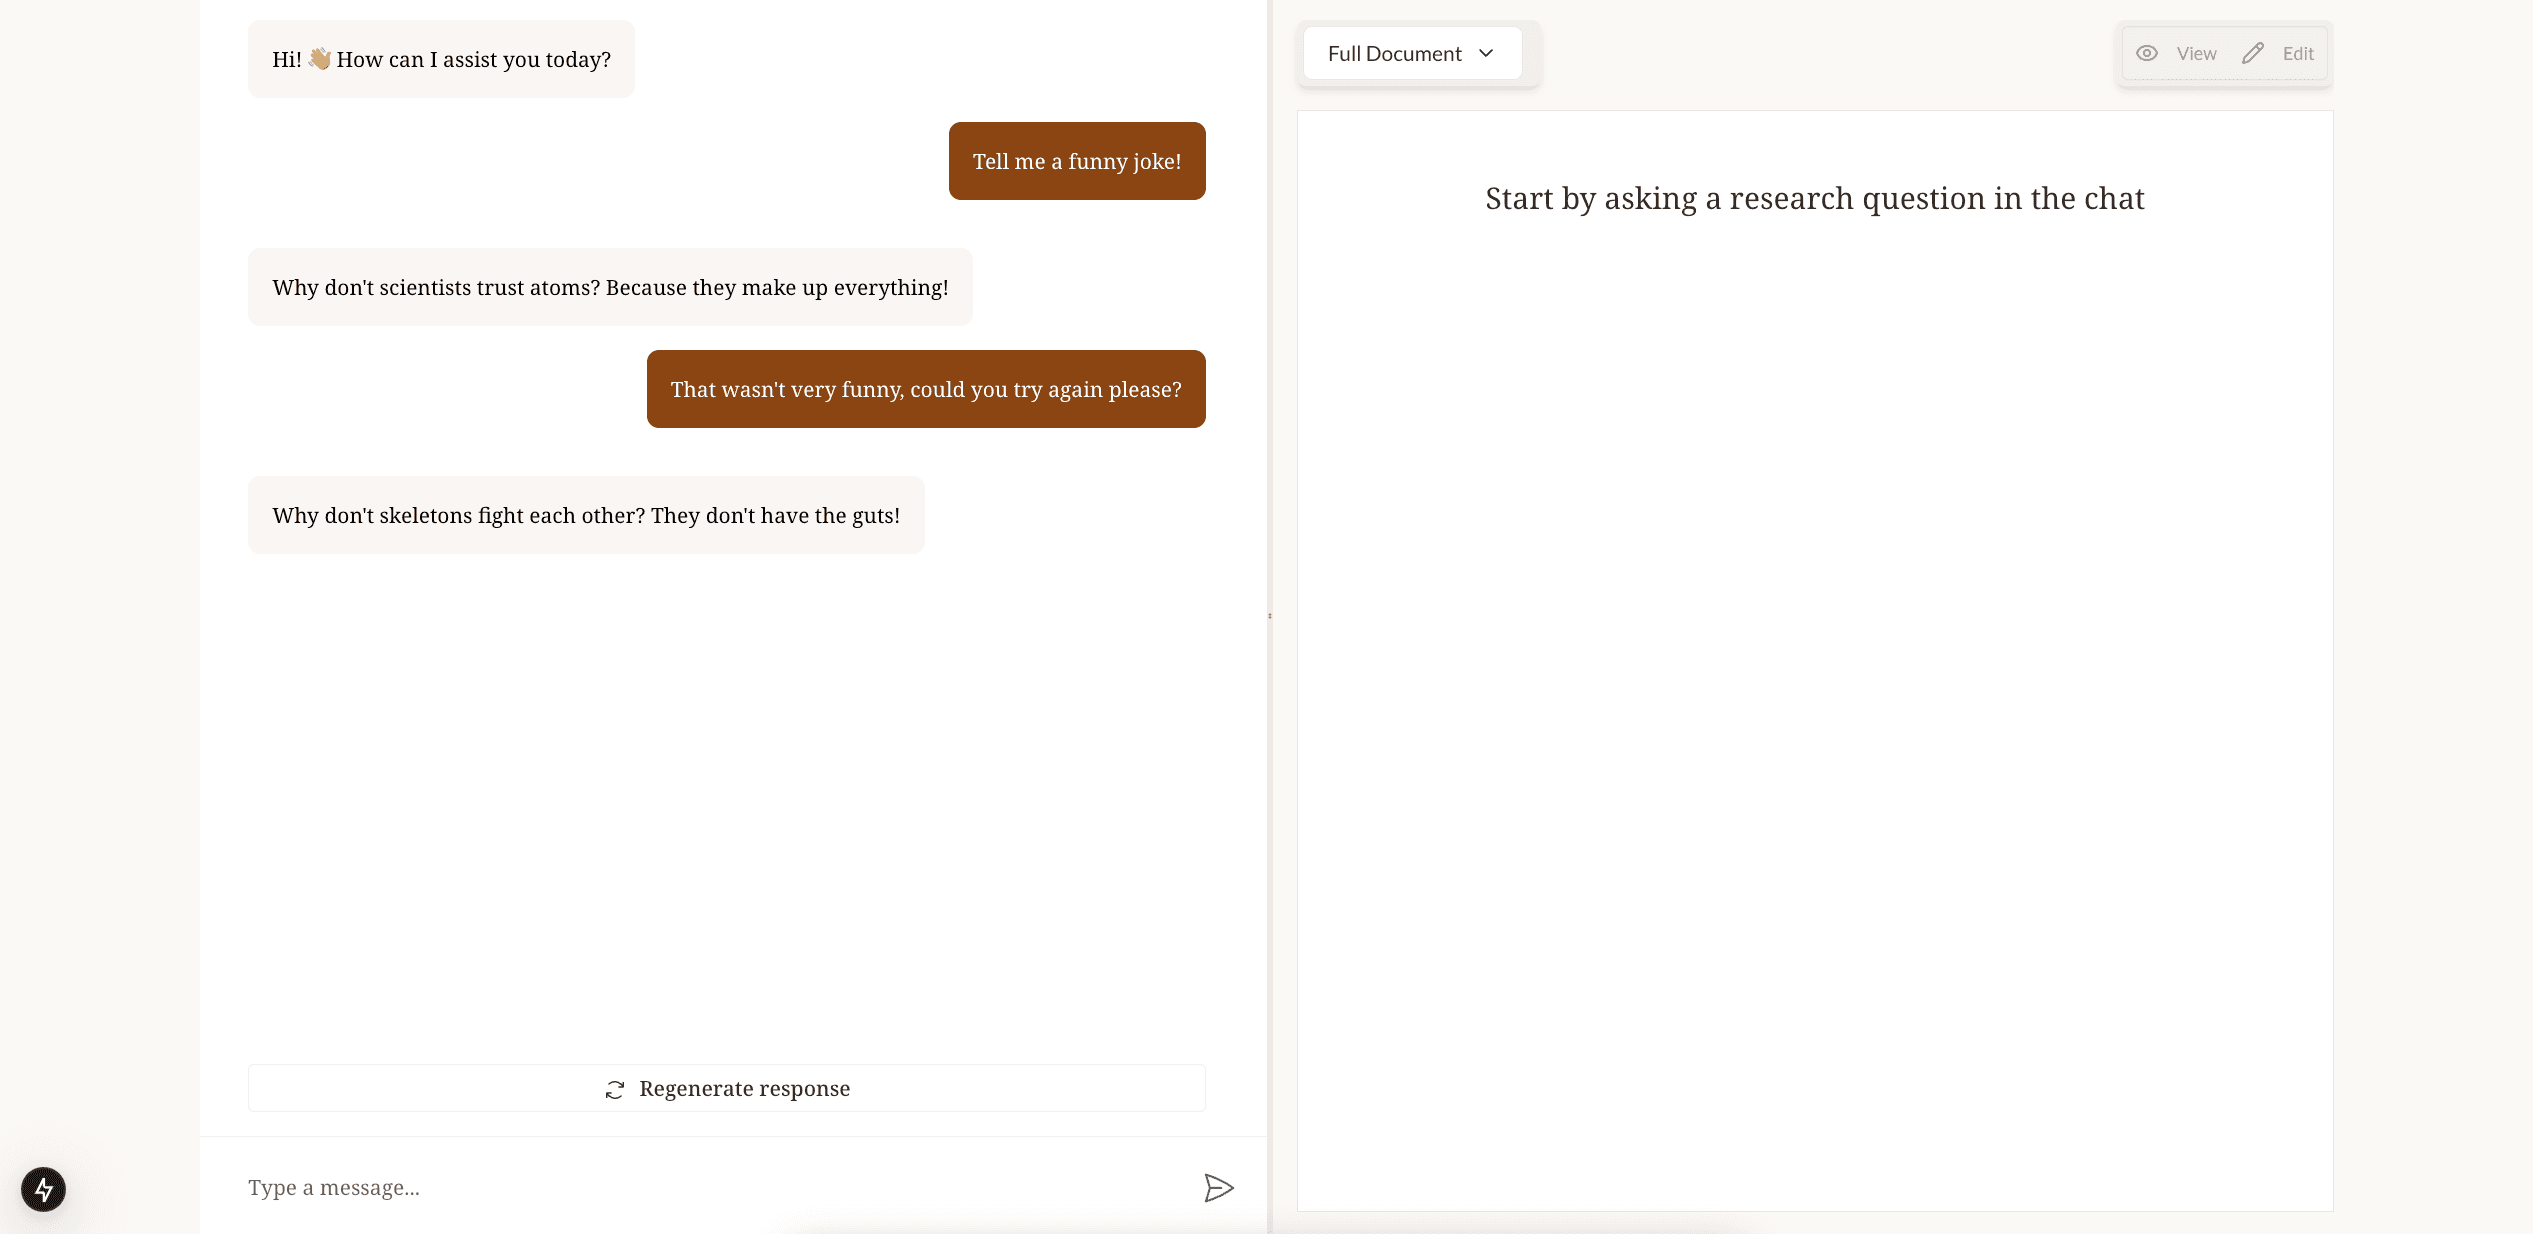
This is a very simple copilot that isn't talking to our LangGraph yet. In the next step, we'll be adding the LangGraph agent to the mix.
